Showing posts with label Brake. Show all posts

June 14, 2013

DIY Rear Brake Pad Replacement

Prerequisite:
u must be able to know how to remove car wheel and have knowledge on how to remove/replace front brake pads. If not pls visit HERE first.

Step-by-step Procedures - how to replace Rear Brake Pads on 308Turbo:

1. Get the following tools ready:
12" F-clamp,Caliper Piston Tool, 2nos. 3/8" extension shafts, 15mm open-end and 13mm socket wrench with handle (or any 13mm wrench) as shown in pic #1.

(Note: tool and jack to remove wheel are not shown)

(enlarged pic of Caliper Piston Tool measuring approx. 1"x1"x1")

2. Assemble "Caliper Piston Compression Tool" from 12" F-clamp, Cubical Brake Caliper Piston Tool, 3/8" extension shafts as shown in pic #2.

(Note: u don't need this MacGyver tool assembly if u already have Peugeot tool No. DF61)

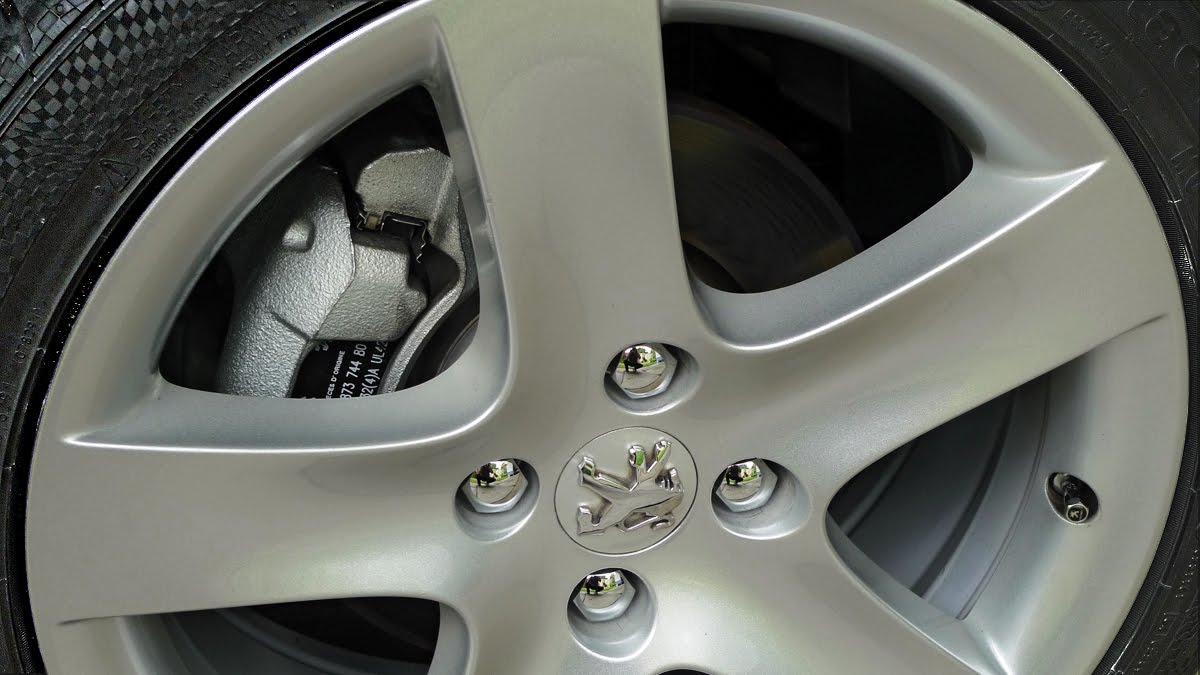
3. Jack-up the car and remove rear wheel as usual. Remember SAFETY FIRST!

4. Using 15mm open-end spanner and 13mm socket wrench with handle as shown in pic #3 loosen and remove the caliper upper guide pin bolt, and swing the caliper down by pivoting around the lower guide pin.


5. Slide out to remove the old brake pads and inspect. If either or both pads are damaged or worn to around or less than the specified minimum thickness replace them.


6. Prior to fitting new brake pads the caliper piston must be pushed back into the cylinder to make room for them.

7. Position "Caliper Piston Compression Tool" and compress the piston using F-clamp and at the same time rotate the Caliper Piston Tool clockwise by the handle made of 3/8" extension shaft as shown in pic #4.


8. Slide the new brake pads into position in the caliper... and make sure each pad's friction material is facing the brake disc otherwise you are going to grind metal to metal...he hee..

9. Swing up the caliper back into position, insert the new upper guide pin bolt and tighten.

QED!

January 29, 2012

Brake bed-in Procedure

(updated on Feb. 1st 2012)

Before bed-in
New brake pads and skimmed rotor were installed in place.

In order for the new brake set to work at its best, the rotors and pads should be properly bedded-in. This process can also be called as "brake conditioning", or whatever terminology.

Proper bedding improves pedal feel [no "on-off" braking feel], reduces or eliminates brake squeal, prevents and cures brake judder, reduces brake dust, and extends the life of pads and rotors.

If you Google around, you will find different procedures for brake bed-in. You may follow any of those procedures but I've got my own way of doing it. You don't have to follow my way but you can take a peep... :)


myProcedure for Bed-in

Bed-in procedure can be annoying to other drivers so I had to perform the bed-in around 4:00am to 5:30am in two sessions during which time there is virtually no other vehicle on the road.


1st Session

Drove and accelerated the car to approximately 80kph and then applied the brake lightly until the speed dropped to around 20kph in 100m. Then accelerated back to 80kph and maintained the speed for 1 minute and then applied the brake lightly again. Repeated 10 times without completely stopping the car. After 10th braking, drove the car slowly for another 5km to cool down the pads and rotor before stopping.

Stopped the car for 30minutes to almost completely cool the brakes.

2nd Session
Repeated Session 1 at 110kph

Here is the result after the 2nd session...

... there is a slight blue tint on the rotor [disc] surface which is not in contact with the pad and a light grey film on the surface which is in direct contact with the pad.


The blue tint tells the rotor has reached break-in temperature and the grey 'coating' is the by product of the chemical reaction between pad material and the rotor under extreme temperature and pressure. This layer enhances adherent friction hence minimizes squealing, increases braking torque, and maximizes pad and rotor life. Without which the braking force depends solely on abrasive friction.


3rd Session
For the 3rd Session, the car was driven 122km non-stop. During the first 50km the car was driven and braked normally in order to "bake-up" brake pads and rotors gradually and maintained the temperature and then performed THREE hard braking from around 120-140kph down to 20kph .

Fully baked rotor with near perfect transfer-layer* formation...
*click HERE to find out what transfer-layer is all about and its significance.

4th Session
This was the final session. The car was driven for 382km at 'normal speeds'. Four times hard braking to dead stop was performed during the trip at approx. 50km interval. Braking performance was excellent. The best ever! Silky smooth but sure and firm. Adherent friction is superb.

Rotor condition after brake bed-in [conditioning] process was completed...
Brake rotor bed-in

January 27, 2012

What Brake Bed-in is all about...

Many ppl believe that brake bed-in is just the grinding process to make the brake pad and rotor [disc] rubbing surfaces match together perfectly for optimum abrasive friction.

Brake bed-in is actually more than that. I prefer to call it 'brake conditioning' because apart from grinding the process will also involve depositing of an even layer of coating material on the rotor surface [for adherent friction] as a result of chemical reaction between brake pad material and the rotor metal/alloy under extreme pressure and temperature. Without which the pads and rotor will be subject to excessive grinding hence reduce their life span. That's why some ppl who did not do proper 'brake conditioning' had to replace their brake pads/rotors sooner than the others either due to excessive wear & tear or juddering/vibration or both.

Proper 'brake conditioning' is important in order to optimise both abrasive and adherent friction for the best braking performance as well as to prolong life span of brake pads/rotors and to prevent brake judder, noise, vibration, etc...

How to do Brake Conditioning?
Just Google around. There are lots of different procedures available. Pick the one you think is suitable for you.

Remember ...
"Proper bedding makes it lust longer..." :)

Taking a Brake...

MyPeugeot308 is almost 3yrs OTR and has just clocked 50,000km. Prior to the scheduled service it is the right time to replace front brake pads even though all pads are still usable up to at least 6000km more.

comparison between worn-out and fresh front brakepads

Why 6000km more?
The answer is because the remaining pad thickness is still more than 1 mm above wear limit. For instance, by measurement the average brake pad consumption is around 1 mm/6000km. This guide is valid for genuine pads and only if 308T is not driven on busy streets [or in towns/cities] where the right foot is spent more time on brake pedal than on the accelerator!.


Ready for the installation.
There is not much wear/damage on the stock rotors even after 50,000km of 'abuse'. A little skimming job is good enough to 'recond' them.
I still prefer genuine brake pads.

DIY Installation is complete...


Click HERE for more info on brake pads/discs and to see how to remove them.

June 29, 2011

Are Your Brembo Discs Genuine?

I asked Brembo how to identify if the discs are genuine. I was informed that Genuine Brembo Discs should...
  • be either blanks, cross-drilled, or slotted. No combination of cross-drilled and slotted. The drilled or slotted discs are coated in a zinc/cadmium plating to help prevent rust and ensure disc longevity.
  • have identification number starting with "09" or "08" such as 09.xxxx.xx. The Brembo discs also have a Brembo Logo and stamp on the disc lip.
  • came in a thick brown cardboard box. The fakes came in a thin white cardboard box.
  • be machined all surfaces including inside hat except on the ventilation vanes. Fake discs have rough cast hat, with a wide gap between the rotor vanes and the braking surface - not machined at all.
  • weigh heavier than the fake discs. Brembo brake rotors are high carbon discs, and have the ability to better dampen vibration and noise
  • have two equal and identical braking surfaces. Both sides have exactly the same thickness [10mm?]. Fakes Brembo discs have one side thicker than the other.
  • have Ventilation Vanes extend out to the very outer edge of the braking surface (both inside and outside). Fake Vanes are sunken into the disc surface around 6mm (on the inside and outside), meaning there is less material connecting the two disc surfaces.

Fake Brembo Discs...

Both discs are fake!

The Genuine "Brembo"stamping c/w logo are clean and more easily distinguishable...
... whereas the disc shown below with not-so-sharp "Brembo MAX" stamping and w/o logo is questionable. You judge it for yourself. I'm doubtful and I will not buy this one...

May 02, 2011

Pre-40,000 km DIY Inspection [cont.]

My 308 had just clocked almost 40,000km and due for periodic maintenance. Today is a public holiday and is another fine day for DIY mechanical inspection prior to sending the 26-month old 308 [OTR] to my favorite SC.

Will not elaborate further. Click HERE for similar kinda of works I did before. For record, latest photos will be posted here later ... This afternoon gonna renew insurance/roadtax.

update: Insured the car for RM80k only. The premium was RM1400++, roadtax RM90.


Tyre and Brakepad Consumptions
Main contributions to tyre and brakepad consumptions are the same as what are actually effect fuel consumption - i.e who drive where, when and how....

I drive my 308 mainly for long distances covering at least 600km return trip. Sometimes up to 2000km covering highways, trunk roads as well as state roads. Normally I drive between midnite and before sunrise. Hence the consumptions are much less than the average.

14doneA1020186
After nearly 40,000km - front brakepad had gone 6.6mm and tyre tread reduced by almost 5mm.

Consumptions:
Bosch friction pads [front]: about 1mm for every 6000km
CSC3 treads: about 1mm for every 8000km

See how to remove front brakepads

February 28, 2010

DIY: How to Remove Front Brakepads

(for REAR brake Pads click HERE)

How to Remove Front Brakepads 
Firstly raise the car with a jack and then remove the wheel. For safety precaution place the wheel beneath the car next to the jacking position. Everybody knows how to do this - so no need to elaborate further, right?

Tools required to remove brake pads are...
1toolsA1020141
... 13mm box wrench with ratchet handle, 19mm open ended spanner and a prying tool

Step-by-step procedures

1. By using prying tool [if u don't have one, a flat screw driver will do] spread the caliper apart, the same way you split open durian fruit. Keep your eyes on brake fluid level in the reservoir which may overflow.
2spreadcaliperA1020158

2. There are two bolts holding the movable caliper on slider guide. Only loosen and remove the lower bolt by using 13mm box wrench. Use 19mm open end spanner to prevent caliper guide from rotating while removing the bolt.
3loosencaliperA1020162

3. Then simply lift upward the movable caliper [using the upper guide as hinge] to expose brake pads...
4liftupcaliperA1020164

4. Hang up the caliper using what ever u have.
20hangupA1020173

5. Then lift out the pads one by one...
6removepad1A1020165
watch the picture carefully, do exactly as shown.
7removepad2A1020166
Achtung! Brake pad dust and dirts are dangerous if inhaled. Never use blower to remove them like w/shop mechanics do.

6. Clean dust on brake pads, calipers and their vicinity using a rag with whatever water_base detergent. I used dish washing detergent and stainless steel wool .
9cleanedpadsA1020170
If the dirt and dust are too stubborn use mineral turpentine with steel wire brush.
8cleanedcalipersA1020177
After cleaning those brake pads and calipers still look shiny like new ... easy for inspections.

7. Inspect the caliper piston and caliper guide dust cover for damage and make sure the caliper guides slide smoothly. Inspect also brake pads and disc, etc. Replace them if necessary. In my case I placed the pads back [no need to replace yet]...
11placebackpadsA1020178
because...
12padthicknessA1020181
...still have 7.3mm thick, i.e more than one-half remaining. Probably will last as long as tyre tread up to at least 40,000km since the last replacement.

8. Finish the job by swinging back the caliper to its original position. Refit the bolt into the lower slider guide and tighten. It is strongly advisable to apply thread locking compound similar to Loctite and tighten to specified torque..
13cleanedcalipersA1020183
Cleaning and Inspecting inside-out completed. Finally refitted the wheel and it's all done!

14doneA1020186


Related DIYs:
How to Replace Peugeot 308 REAR Brakepads
How to Remove Peugeot 206 Front Brakepads
W124 Suspension, Steering and Braking System
How to Remove, Overhaul and Replace Peugeot 206 Starter Motor

Frequently Visited Pages:
|Home|Fuel Consumption|Performance|Motoring Myths|Car Size Comparison|

February 06, 2010

Taking Another Brake

AHW cleaned and inspected 308 braking system last week, the following weekend was the time for taking another brake. It had already been six months since the last time AHW cleaned and inspected his 206 braking system.

After removing the wheel this is what the visual condition looked like...
04A1070267
Looks dusty isn't it?

308 and 206 are using different types of BOSCH brake, in principle they are the same though. Hence method to remove the pads is not much different except 308 needs 19mm open end spanner as well in addition to the 13mm wrench to remove the bolt which hold the brake caliper to the slider. 206 just needs 13mm wrench. A plier is also needed to pull out 206 brake pads by their 'pins'- such pins do not exist on 308 brake pads.

These are the tools needed to remove 206 brake pads for cleaning and inspection...
04A1070283
13mm box wrench c/w ratchet handle, pliers and prying bar.

Brake Pads Removal Procedures
1. By using prying bar [if u don't have one, a flat screw driver will do] spread the caliper apart. Keep your eyes on brake fluid level in the reservoir which may overflow.

2. There are two bolts holding the movable caliper to the slider guide. Only loosen and remove the lower bolt by using 13mm box wrench.
04A1070284

3. Then simply swing up the movable caliper [using the upper guide as hinge] to expose brake pads.
04A1070274

4. Remove each brake pad by pulling outwards its upper 'safety pin' by using a pair of pliers.
04A1070277

5. Clean and inspect what ever necessary...
04A1070279
After abusing the car for around 50,000km throughout Malayan Peninsular in three years [from sea level to 6666ft Berincang Summit in Cameron Highlands] there are still more than 6mm of material left on front brake pads.
04A1070282
the pad is 6.48 mm left after abusing around 50,000km

Probably the front brake pads on 206 will last up to 80,000km before need replacement to make their lives double than front brake pads on 308.

6. After cleaning and inspecting place back the pads [if they are still usable] and carefully swing down the caliper to its original position...
04A1070280
... then refit the bolt into the lower slider guide and tighten.
04A1070286
It is strongly advisable to apply thread locking compound similar to Loctite and tighten to specified torque..


Related DIYs:
How to Remove Peugeot 308 THP Brakepads
W124 Suspension, Steering and Braking System
How to Remove, Overhaul and Replace Peugeot 206 Starter Motor

Frequently Visited Pages:
|
Home|Fuel Consumption|Performance|uncle's DIY |
| Car Size Comparison | Motoring Myths | RON95 |

Last 7-day Most Viewed Pages

All-time Most Popular Posts