(for REAR brake Pads click HERE)
How to Remove Front Brakepads
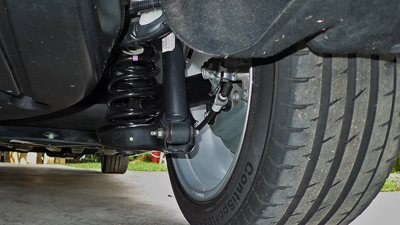
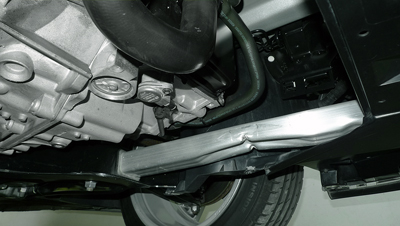
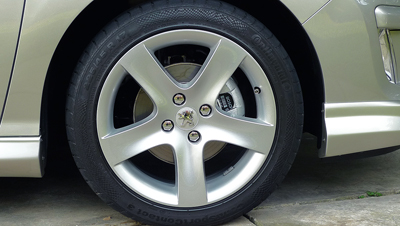
Firstly raise the car with a jack and then remove the wheel. For safety precaution place the wheel beneath the car next to the jacking position. Everybody knows how to do this - so no need to elaborate further, right?
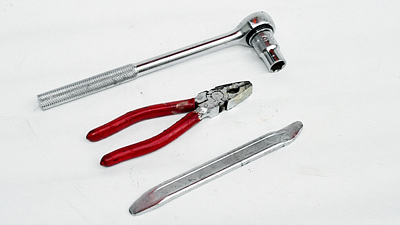
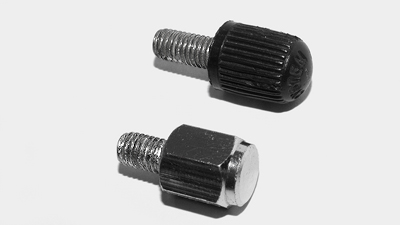
Tools required to remove brake pads are...
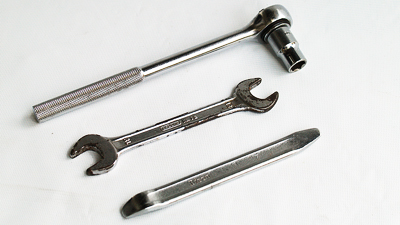
... 13mm box wrench with ratchet handle, 19mm open ended spanner and a prying tool
Step-by-step procedures
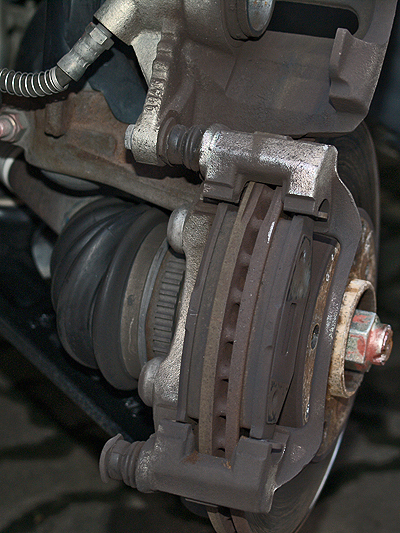
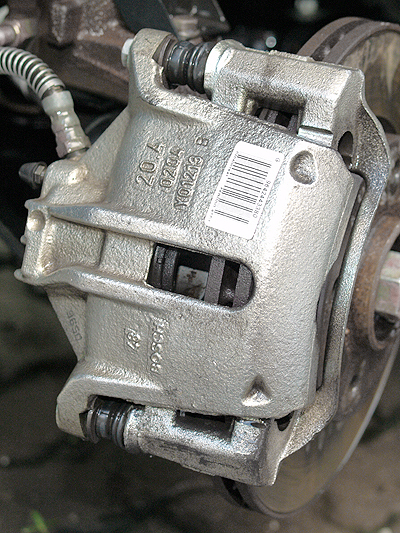
1. By using prying tool [if u don't have one, a flat screw driver will do] spread the caliper apart, the same way you split open durian fruit. Keep your eyes on brake fluid level in the reservoir which may overflow.

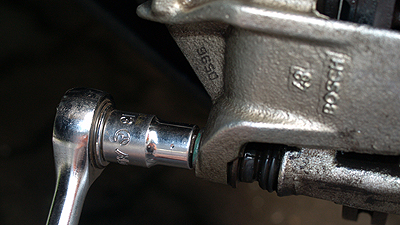
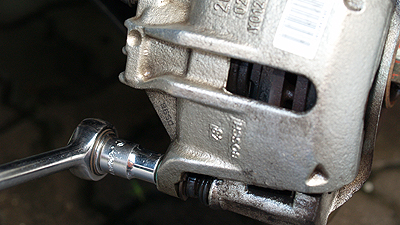
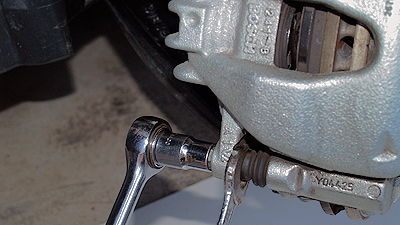
2. There are two bolts holding the movable caliper on slider guide. Only loosen and remove the lower bolt by using 13mm box wrench. Use 19mm open end spanner to prevent caliper guide from rotating while removing the bolt.
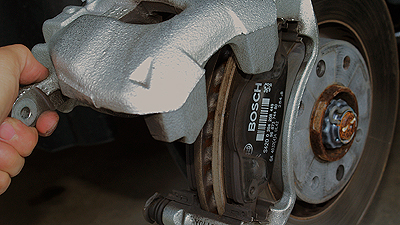
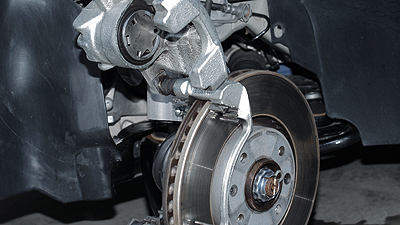
3. Then simply lift upward the movable caliper [using the upper guide as hinge] to expose brake pads...
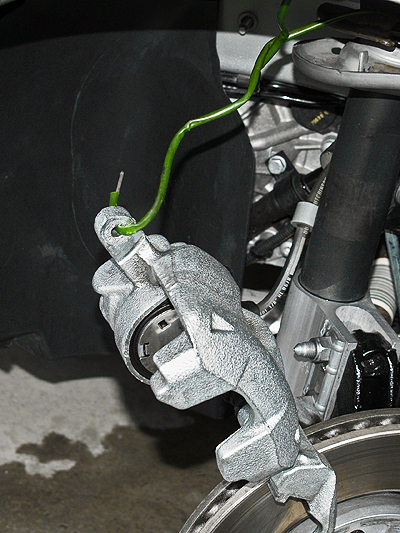
4. Hang up the caliper using what ever u have.
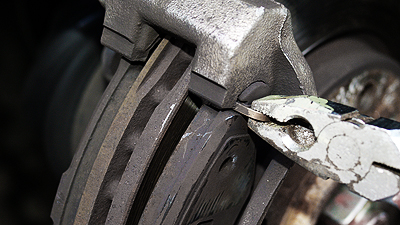
5. Then lift out the pads one by one...
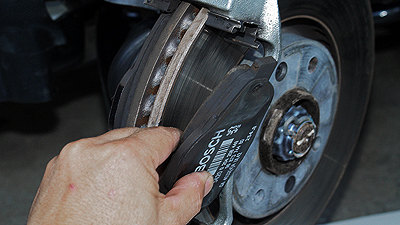
watch the picture carefully, do exactly as shown.
Achtung! Brake pad dust and dirts are dangerous if inhaled. Never use blower to remove them like w/shop mechanics do.
6. Clean dust on brake pads, calipers and their vicinity using a rag with whatever water_base detergent. I used dish washing detergent and stainless steel wool .

If the dirt and dust are too stubborn use mineral turpentine with steel wire brush.
How to Remove Front Brakepads
Firstly raise the car with a jack and then remove the wheel. For safety precaution place the wheel beneath the car next to the jacking position. Everybody knows how to do this - so no need to elaborate further, right?
Tools required to remove brake pads are...
... 13mm box wrench with ratchet handle, 19mm open ended spanner and a prying tool
Step-by-step procedures
1. By using prying tool [if u don't have one, a flat screw driver will do] spread the caliper apart, the same way you split open durian fruit. Keep your eyes on brake fluid level in the reservoir which may overflow.
2. There are two bolts holding the movable caliper on slider guide. Only loosen and remove the lower bolt by using 13mm box wrench. Use 19mm open end spanner to prevent caliper guide from rotating while removing the bolt.
3. Then simply lift upward the movable caliper [using the upper guide as hinge] to expose brake pads...
4. Hang up the caliper using what ever u have.
5. Then lift out the pads one by one...
watch the picture carefully, do exactly as shown.
Achtung! Brake pad dust and dirts are dangerous if inhaled. Never use blower to remove them like w/shop mechanics do.
6. Clean dust on brake pads, calipers and their vicinity using a rag with whatever water_base detergent. I used dish washing detergent and stainless steel wool .
If the dirt and dust are too stubborn use mineral turpentine with steel wire brush.
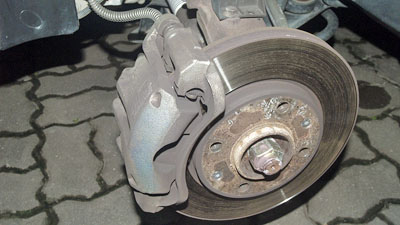
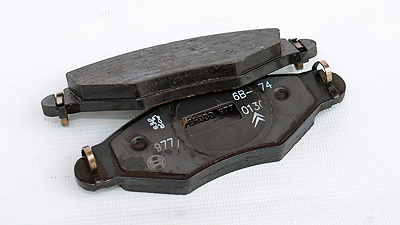
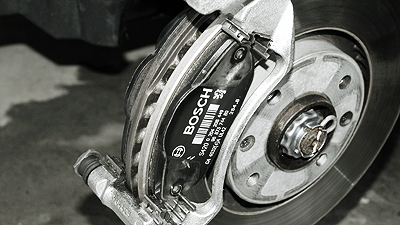
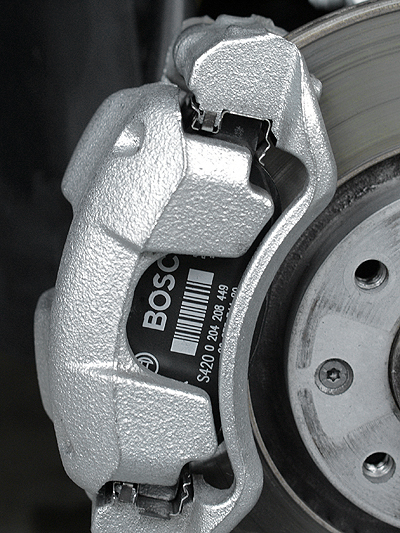
After cleaning those brake pads and calipers still look shiny like new ... easy for inspections.
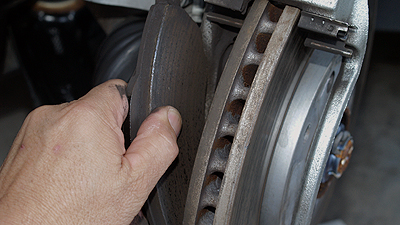
7. Inspect the caliper piston and caliper guide dust cover for damage and make sure the caliper guides slide smoothly. Inspect also brake pads and disc, etc. Replace them if necessary. In my case I placed the pads back [no need to replace yet]...
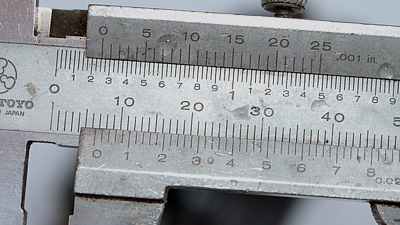
because...
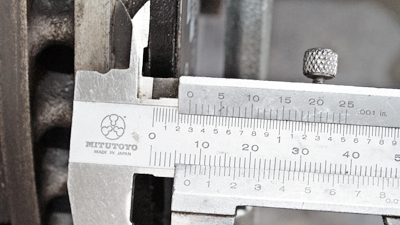
...still have 7.3mm thick, i.e more than one-half remaining. Probably will last as long as tyre tread up to at least 40,000km since the last replacement.
8. Finish the job by swinging back the caliper to its original position. Refit the bolt into the lower slider guide and tighten. It is strongly advisable to apply thread locking compound similar to Loctite and tighten to specified torque..
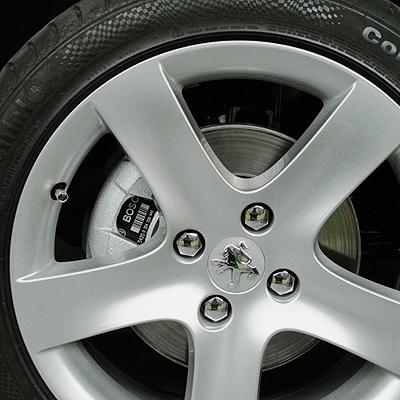
Cleaning and Inspecting inside-out completed. Finally refitted the wheel and it's all done!
Related DIYs:
How to Replace Peugeot 308 REAR Brakepads
How to Remove Peugeot 206 Front Brakepads
W124 Suspension, Steering and Braking System
How to Remove, Overhaul and Replace Peugeot 206 Starter Motor
Frequently Visited Pages:
|Home|Fuel Consumption|Performance|Motoring Myths|Car Size Comparison|